

I love my natural yogurt and whilst I don’t tend to eat it for brekkie these days like I used to, I love it as an after lunch treat. I make it about every other other day now and it’s become such an easy habit for me to adopt, that I can strongly recommend having a go, if you haven’t already!
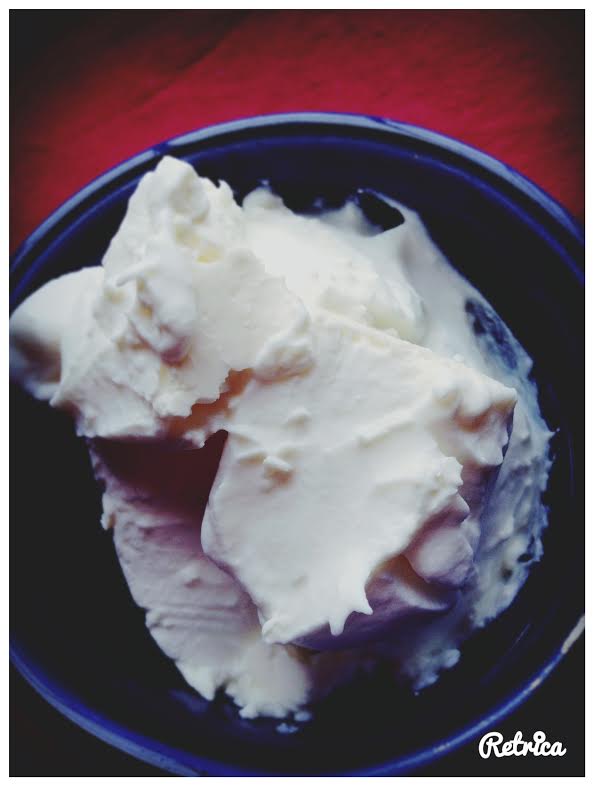
I get so excited when I unwrap my incubated yogurt each time and marvel at how thick and creamy it is!!! For this reason, I don’t bother straining it, but usually, when I’ve taken out several spoonfuls, the whey pools in the bottom of the bowl. In this case, I tend to just pour it off into whatever I’m preparing, for some added protein!
I mainly use creamy Jersey milk now (unless I get some fresh raw cow’s milk from a farm friend), but I have used cashew nut milk before, when I didn’t have enough dairy milk, and it worked really well. Indeed, I was pleasantly surprised, as I wasn’t sure if the lack of milk sugar would impede the fermentation process. It didn’t.
Meanwhile, if you’re looking for a coconut version, try this one: Clever Cook’s Coconut Yogurt Mark II or this one: Clever Cook’s Coyo Mark III, Alexx Stuart’s or this one from Mindful Foodie. Alternatively, if you have the Quirky Cookbook, there is a great method in there on how to make coconut cream first and then yoghurt. For other yogurt alternatives, including lactose free, also check out this site: Green Living Australia. You could easily apply the same Thermomix method by using other appropriate milks and starter cultures, according to your allergies/intolerances.
Anyway, this is my tweaked take on the original EDC version. It is so much more cost effective than supermarket bought natural yogurt, especially once you use some of your previous batch as starter culture …

This is the TM31 method – I’ve heard varying reports of the TM5’s automated yoghurt programme. Do what works for you, with a little bit of trial and error.
Take and add to a dry, clean bowl, then mix for 10 seconds / speed 7:
- 900g Full Fat (Jersey) Milk or Cashew Nut Milk (75g cashews, grind 10 seconds / speed 9 – add 750g water and whizz for 1 minute / speed 9 – add a few dates along with the cashews to add a little sweetness, if you wish)
- 50g Dried Milk Powder (optional, but I like it for added creaminess/thickening)
Heat for 25 minutes / 90deg / speed 1:
- Allow to cool just until the 37deg light goes off – I set on the window sill with the window slightly ajar. The timing here can vary, according to climate, but allow for an hour or two.
- Set back onto the Thermomix base and check the temperature reading. I can usually tell now by how warm the bottom of the bowl is.
Add in and mix for 4 seconds / speed 4:
- 100 full fat Greek yogurt – I actually use Aldi UK’s brand, but you could use the UK’s Rachel’s or Yeo’s organic brands. For Australia, you could try this one … Jalna Greek Yogurt or Mungalli Creek yoghurt, along with their Jersey milk. Good for the GAPS diet, it seems.
- Heat for 10 minutes / 37deg / speed 1-2
Meanwhile, pre-warm a Thermoserver or other thermos (eg Ikea 365+) and a pyrex bowl that fits snugly into either one of these, by pouring some boiling water into both bowls and popping on their lids.
When the yogurt mixture has finished cooking, tip away the water from the above bowls, then pour the yogurt mixture into the pyrex bowl, set inside the Thermoserver/Thermos. Place the Thermoserver lid on and wrap it in a towel. (I bundle mine up in a quilted bag and then cover in a towel.
Put in a warm, draught-free place, and leave undisturbed for 6-24 hours – I put mine into the ‘airing cupboard’. The longer you leave it, the more tangy it becomes. Read here for more information on culturing times.

Once incubated, place in the fridge and consume as and when.
From henceforth, reserve 100g for the next time to use as your starter culture …
NB: Once you spoon into the yoghurt, whey will start to seep out of the rest of the yoghurt – I just siphon off and tip into soups or bread/cake mixtures for a protein boost.

I love the idea of putting a bowl in the Thermie Serve, I always put my yoghurt straight in to my server but the bowl sounds like such a great idea. Thanks.
Glad to help, Nicole! My first few attempts using just the Thermoserver were not too flash. Then a couple of other thermomixers gave me the idea with the pyrex bowl (based on the Easiyo method), so it was a bit of a light-bulb moment for me and I’ve never looked back!!
Looks very easy to make and very healthy, I have been juicing a lot in an attempt to eat better. I think I will add this to my diet.
I’ve just tucked into a new batch James … never ceases to delight!